Effective Basement Moisture Prevention Strategies for Long-Term Residential Property Protection
Where Basement Moisture Really Comes From
Basement moisture has only a few sources, but they are easy to confuse, and treating the wrong one wastes money. The direct answer is that most basement damp comes from outside: rain and groundwater pressing against the foundation, roof water dumped beside the wall, or a high water table pushing up through the floor. The rest comes from inside, as condensation on cold walls and humidity from showers, cooking, and drying laundry.
Telling them apart matters. Water that appears after rain points outside, while damp that appears in humid summer weather and dries in winter points to condensation. A simple test helps: tape a square of clear plastic to the wall for two days. Moisture on the room side of the plastic means condensation; moisture behind it means water is coming through the wall. That one test can save a homeowner from waterproofing a wall that only needed a dehumidifier.
What Do Damp Patches, Efflorescence, and Musty Air Tell You?
Basements rarely flood without warning. The early signs are quieter: a musty smell that returns after cleaning, white powdery efflorescence where water has evaporated from the wall, paint that bubbles on basement walls, and rust on metal stored near the floor. Each one points to a different problem, and together they map where water is entering.
Efflorescence means water is moving through the masonry and leaving salts behind, which points to exterior water pressure. Musty air without visible damp usually means high humidity and poor ventilation, which a dehumidifier and air movement can fix. Damp at the wall-floor joint after rain is the classic sign of hydrostatic pressure, and it is the one that needs drainage work rather than paint.
Exterior Prevention: Grading, Gutters, and Downspouts
The most effective basement moisture prevention happens outside the house, before water ever reaches the wall. Grade the soil so it falls at least six inches over the first ten feet away from the foundation, keep gutters clean, and extend downspouts at least six feet from the house, ten where the ground is flat. These three steps alone prevent a large share of basement damp, and they cost far less than any interior system.
Check the details that are easy to miss. Window wells need drains and covers so they do not fill with rain, the soil should not be built up above the foundation’s damp-proof course, and any patio or driveway that slopes towards the house should be regraded or fitted with a channel drain. A walk around the house in heavy rain shows exactly where water is heading, and that observation is worth more than any product brochure.
Exterior Waterproofing Membranes and Footing Drains
For persistent groundwater problems, the thorough answer is exterior waterproofing: excavate to the footing, apply a seamless membrane to the wall, protect it with a drainage board, and lay a footing drain in washed gravel wrapped in filter fabric. The membrane stops water entering, the board protects it during backfill, and the drain carries groundwater away before pressure can build.
This is major work and is usually done during construction or a major renovation, because excavation is disruptive and expensive. A membrane typically lasts twenty to thirty years when protected properly. Its weak points are punctures during backfilling and poor surface preparation, so it should be installed by a waterproofing contractor, not as a first DIY project.
Interior Drain Tile and Sump Pumps
Interior drain tile manages water that has already got past the exterior defences. A channel is cut into the floor slab around the perimeter, a perforated pipe collects water seeping through the wall-floor joint, and the flow runs to a sump basin where a pump discharges it outside. A battery backup keeps the system running during power cuts, when heavy rain is most likely.
Interior systems are control measures rather than prevention, so they work best alongside exterior improvements. Test the pump twice a year by pouring water into the basin, keep the discharge line clear and protected from freezing, and fit an alarm so a failed pump is noticed quickly. In homes with frequent storms, a second pump or a water-powered backup is a sensible addition.
Sealing Cracks and Managing Wall Seepage
Small foundation cracks are common and often harmless, but any crack that leaks needs sealing properly. Non-structural hairline cracks can be injected with flexible polyurethane foam, which expands to fill the crack and moves with the wall. Epoxy injection suits cracks that need structural bonding, but it is rigid, so it belongs on stable cracks only.
Waterproof paints and hydraulic cement have a place, but it is a limited one: they can manage minor damp on an interior wall, yet they cannot resist real water pressure and will eventually blister or peel if the source is not fixed. Treat them as a finishing step after drainage is sorted, never as the drainage itself. Any crack that is widening, stair-stepped in blockwork, or accompanied by bowing needs a structural engineer, not a tube of sealant.
- Clean the crack and let it dry completely.
- Fit injection ports along the crack, spaced a few inches apart.
- Inject polyurethane foam from the lowest port upward.
- Remove the ports once cured and patch the surface.
Humidity Control: Dehumidifiers and Ventilation
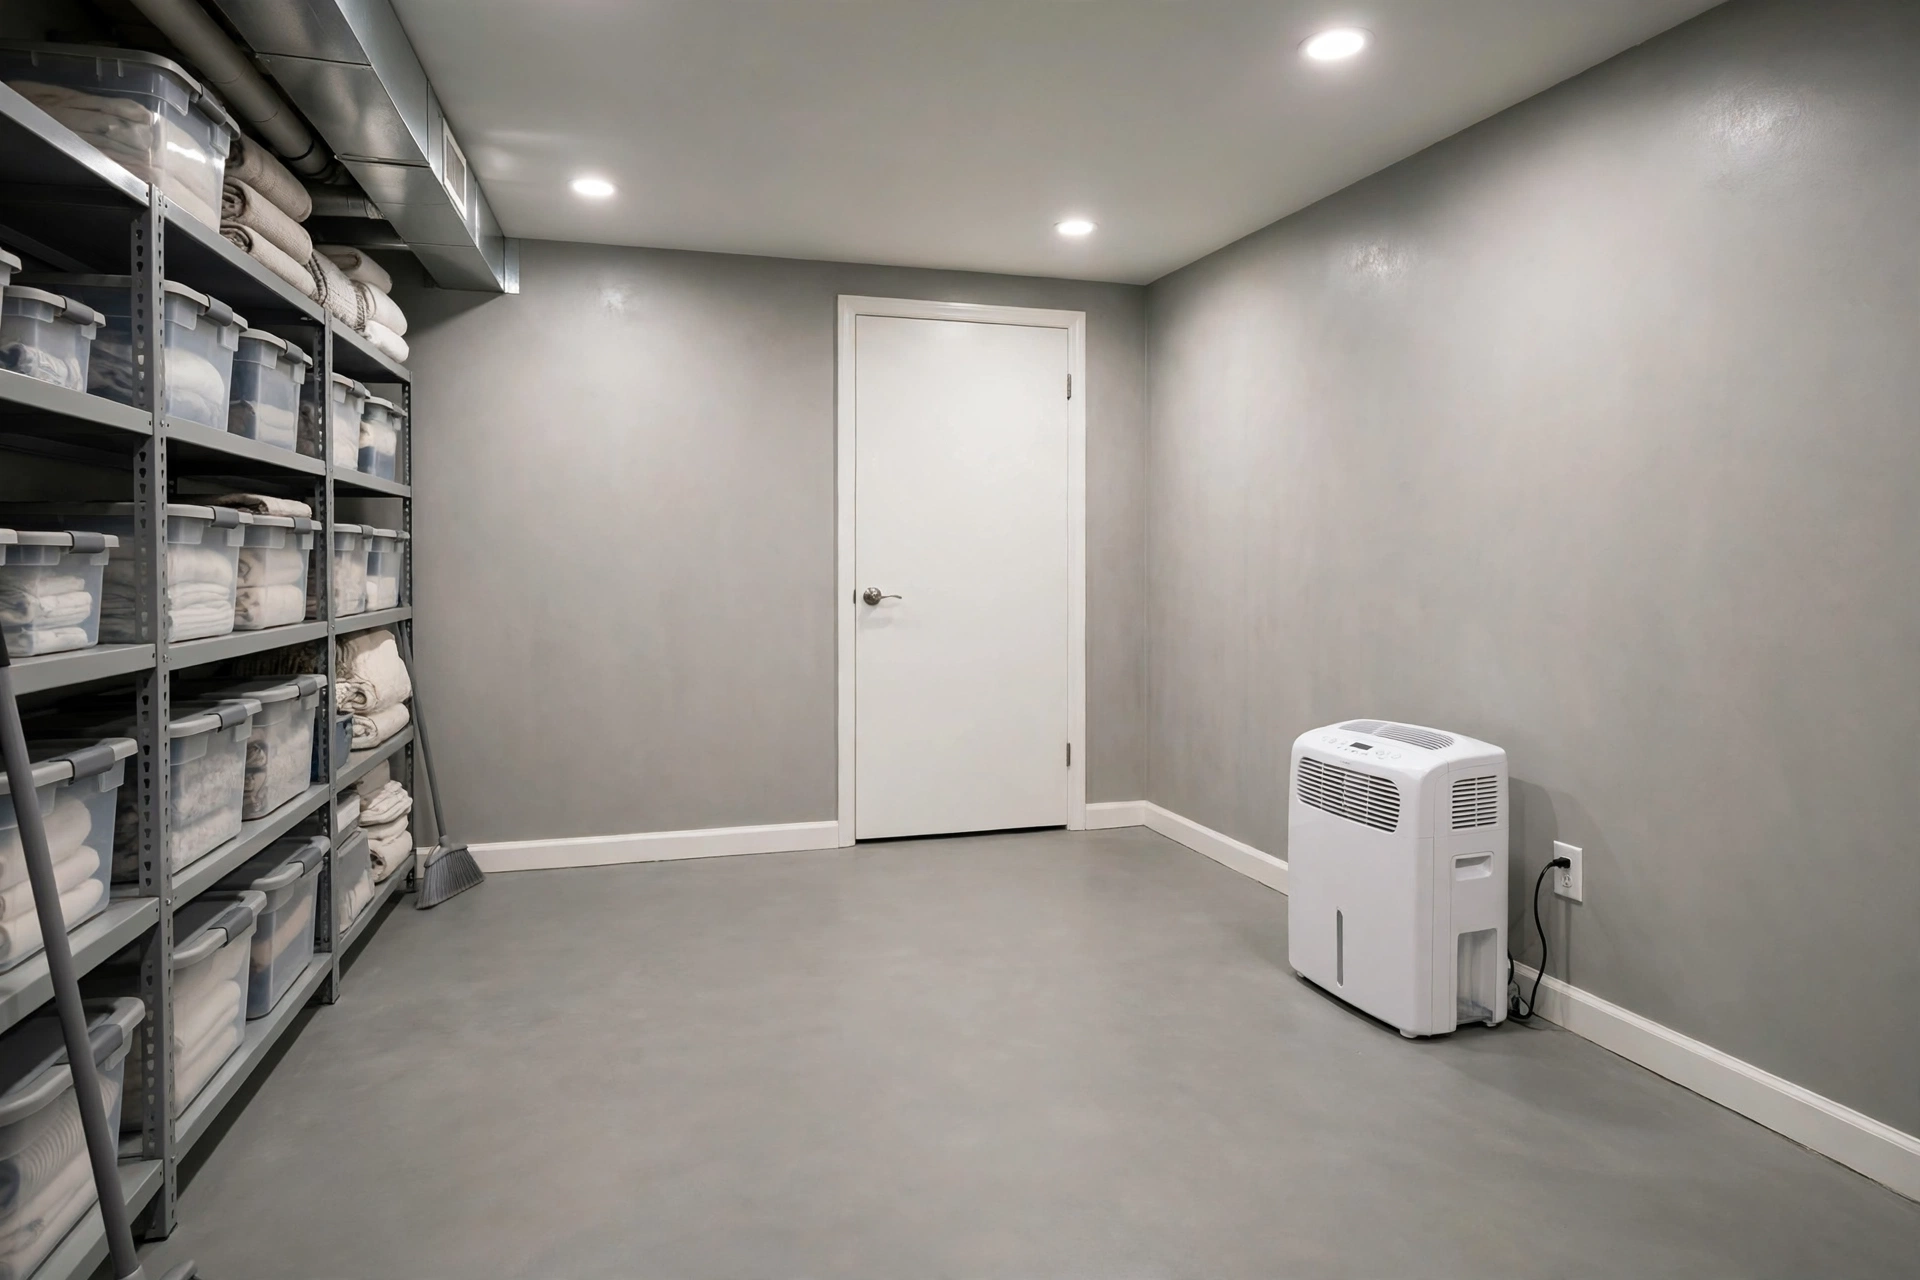
Even a dry basement can feel damp if the air is humid, because cool basement walls condense moisture out of warm summer air. A dehumidifier sized for the space, draining to a sink or sump so it never needs emptying, will hold relative humidity in the healthy range of roughly forty to fifty percent. A hygrometer on the wall makes the effect visible and shows when settings need adjusting.
Ventilation matters just as much. A basement needs a controlled supply of fresh air, and in a finished basement that usually means a heat-recovery ventilator or a dedicated dehumidifying ventilator rather than simply opening windows, which in summer brings in more humid air. Avoid storing cardboard, fabrics, and untreated timber directly on the floor, since they absorb moisture and feed mould even in a fairly dry basement.
A simple routine keeps humidity under control without constant attention. Empty and clean the dehumidifier filter monthly, check the hygrometer weekly until the pattern is understood, and run the ventilator on a timer so fresh air arrives even when the house is empty. In summer, keep basement windows shut during the day and ventilate at night when the air is cooler and drier, which stops humid air condensing on cold walls.
- Hold relative humidity between 40% and 50%.
- Drain the dehumidifier to a sink or sump, never a bucket.
- Keep cardboard and fabrics off the basement floor.
Basement Moisture Prevention FAQs
What is the most effective way to prevent basement moisture?
Keeping water away from the foundation outside is the most effective approach: correct grading, clean gutters, and downspouts discharging well away from the house. Interior systems manage water that gets in, but exterior prevention stops it arriving in the first place.
How can I tell if basement damp is condensation or a leak?
Tape a square of clear plastic to the wall for two days. Moisture on the room side points to condensation, while moisture behind the plastic means water is coming through the wall. Rain-linked damp also points to a leak, while summer-only damp points to condensation.
What humidity level should a basement have?
Aim for relative humidity between roughly forty and fifty percent. Below thirty percent the air feels dry and timber can shrink, while above sixty percent mould grows readily and condensation forms on cool walls and pipes.
Do waterproof paints stop basement leaks?
No, not against real water pressure. Waterproof paints and hydraulic cement can manage minor surface damp, but they blister and peel when hydrostatic pressure pushes water through the wall. They are a finishing step, not a substitute for drainage.
How often should a sump pump be tested?
Test it at least twice a year by pouring water into the basin and checking that it starts, pumps, and stops correctly. Also check the discharge line for blockages and freezing, and test any battery backup at the same time.
Can I finish a basement that has had moisture problems?
Yes, but only after the moisture source is fixed and the basement has stayed dry through a wet season. Use moisture-resistant materials, keep drainage accessible, and avoid carpet and standard plasterboard at floor level where damp is most likely.
Finishing a Basement So It Stays Dry
A basement conversion should only begin after the moisture is controlled, not before. The right build-up is vapour-open where the wall needs to dry and waterproof where water pressure exists: rigid foam or mineral wool against the wall, a framed stud wall with a gap for air movement, and moisture-resistant plasterboard and flooring. Timber framing should sit on a sill gasket, never directly on concrete.
Choose finishes that forgive the odd damp spell: luxury vinyl tile or sealed concrete floors rather than carpet, and mould-resistant plasterboard rather than standard board. Leave access to the sump, cleanouts, and any crack repairs, since a finished wall that hides the drainage is a wall that cannot be maintained. A basement finished this way stays usable for decades instead of needing to be stripped back after the first wet year.
Moisture Prevention Costs and Long-Term Value in Broad Terms
Prevention costs rise with how deep the work goes. Grading, gutter work, and a dehumidifier are modest expenses that many homeowners handle in a weekend. Interior drain tile and sump systems cost substantially more, and exterior excavation with a membrane is the most expensive option, with prices varying widely by depth, access, and soil.
The value case is strong: a dry basement protects the structure, prevents mould remediation bills, and adds usable living space that buyers value highly. Spending on prevention before finishing a basement is almost always cheaper than stripping a finished basement after a flood, so treat moisture control as part of the conversion budget, not an optional extra.
Moisture Safety and When a Waterproofing Professional Should Take Over
Homeowners can safely handle grading, gutter maintenance, dehumidifiers, and minor crack sealing, but excavation, structural cracks, and persistent flooding belong to professionals. Deep trenches can collapse, and working below ground level near a foundation needs shoring and insurance that DIY work does not have.
Call a waterproofing specialist if water appears after every rain, if cracks are widening or walls are bowing, or if mould covers a large area. Mould over a small patch can be cleaned carefully with protective equipment, but widespread growth, sewage contamination, or damp linked to structural movement needs professional assessment. Never ignore a basement that floods repeatedly; each flood weakens finishes and feeds mould that affects the whole house.
Final Thoughts: A Dry Basement Is a Protected Home
Basement moisture prevention works best as a sequence: keep water away outside, drain what remains, seal what leaks, and control the air inside. Each layer backs up the one before it, so a single failure does not flood the basement.
Start with the cheap exterior fixes and a humidity check, and only dig when the evidence points below ground. A basement protected this way stops being a worry and becomes what it should be: dry, usable space that protects the whole house above it.